Placing image onto a surface (google)
Save image of the site view onto desktop (3600 x 3600 is the limit - or default)
In blender:
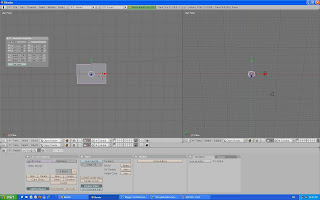
- Right click on edge of screen - split screen - f12 to render
- delete cube
- Space bar - Add mesh - plane
- press n
- set at zero
- enter ratio into X & Y coordinates of the size of your image (eg 1.196 x .810)
- tap into edit mode
- toggle 'a' key (selects all or none of the vertices in the object)
- press 'u' key
- click unwrap
- click on hash (3DVIEW) icon on tool bar and change to UV MAP
- Click on image - open
- open map image from the desktop
- press tab
- press material icon (silver ball)
- add new
- Click on 'texface'
- click on orange box icon - change to 'textured view'
- (shortcut: Ctl + up arrow)
- change from 'global' to 'local'
- right click on camera & move it so there is a good view of the image from above
- if there are problems setting the camera, make all axis zero, then hold 'x' & 'r' to rotate camera on the axis
- 'z' &'r' until view is great
- press f12 to render
- f3 to save
- enter file name to save jpeg
- press f10 to get into scene
- click 'HD' for high definition render
- f3 save
- experiement with lighting - change from 'local' to 'global'
- f12 - you can see the lighting is now darker
- NOW create a plane to it shoots particles across the storey bridge
- then add a series of forces fields around the scene
- 'shift' + 'middle mouse button' to move image around the screen
- rotate plane 'r' + 'x' press 90(for degrees) then enter
- move plane down so that it sits as cloesly to the image as possible
- then click on fire icon
- add new
- then change 'end' & 'life' to 250
- change normal speed to 200
- press 'alt' and 'a' to animate


No comments:
Post a Comment