So over the Easter break I attempted a few terrain maps in Blender of the site.
After a few hours my eyes were pretty sore from concentrating and the results aren't that amazing...but I was happy that I'm starting to understand a little more about how Blender operates.
Here are some examples of testing below:
Experiment 1
First I imported a photo of the site into photoshop and created layers according to height/depth. When importing images into blender, black inverts and white rises in height.
I just started with a section of the map to see the result in Blender.
River = black
Land = dark grey
Trees = light grey
Buildings = white
I then imported this into Blender
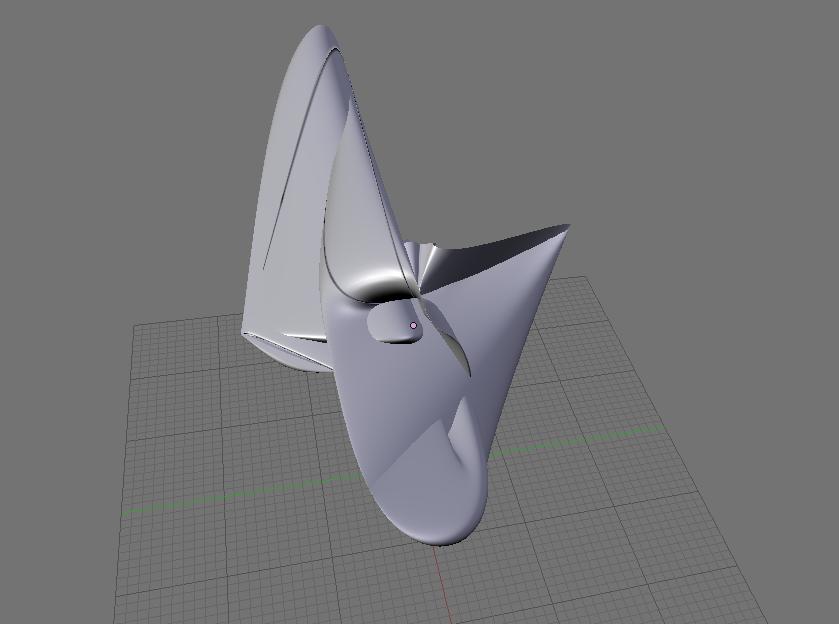
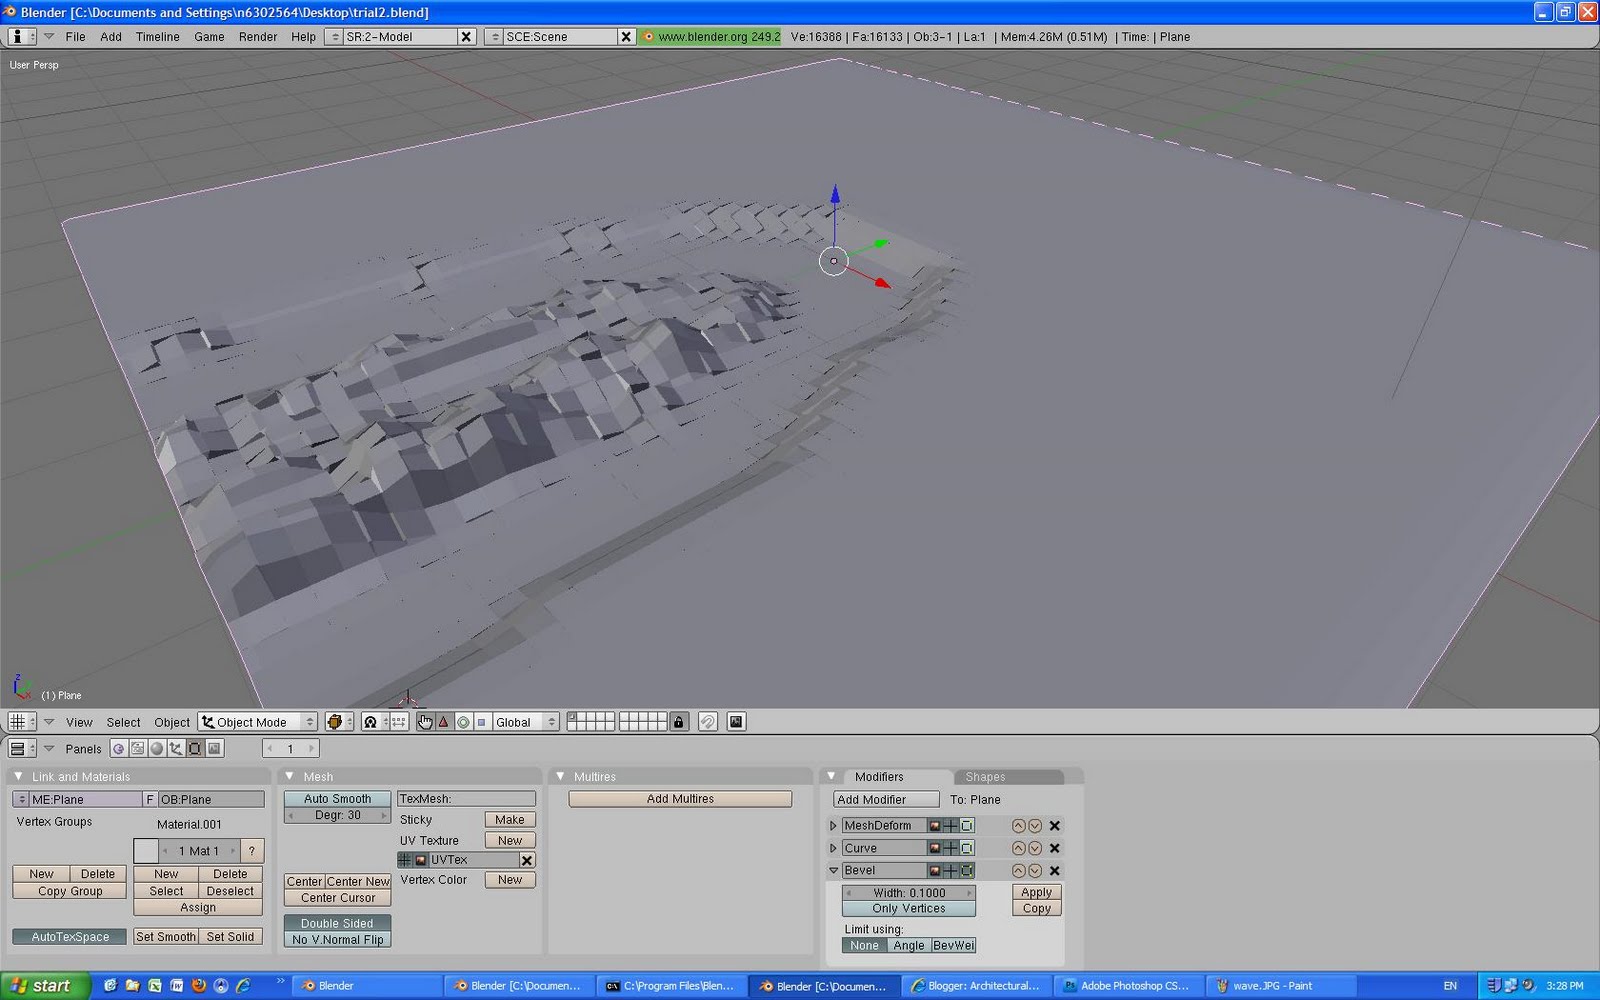
I abstracted the site by applying different modifers:
WAVE:
BEVEL:
Then I tried adding more 'Noise' in Edit mode
Mesh Deform created an interesting form:
Adding 'Wave'
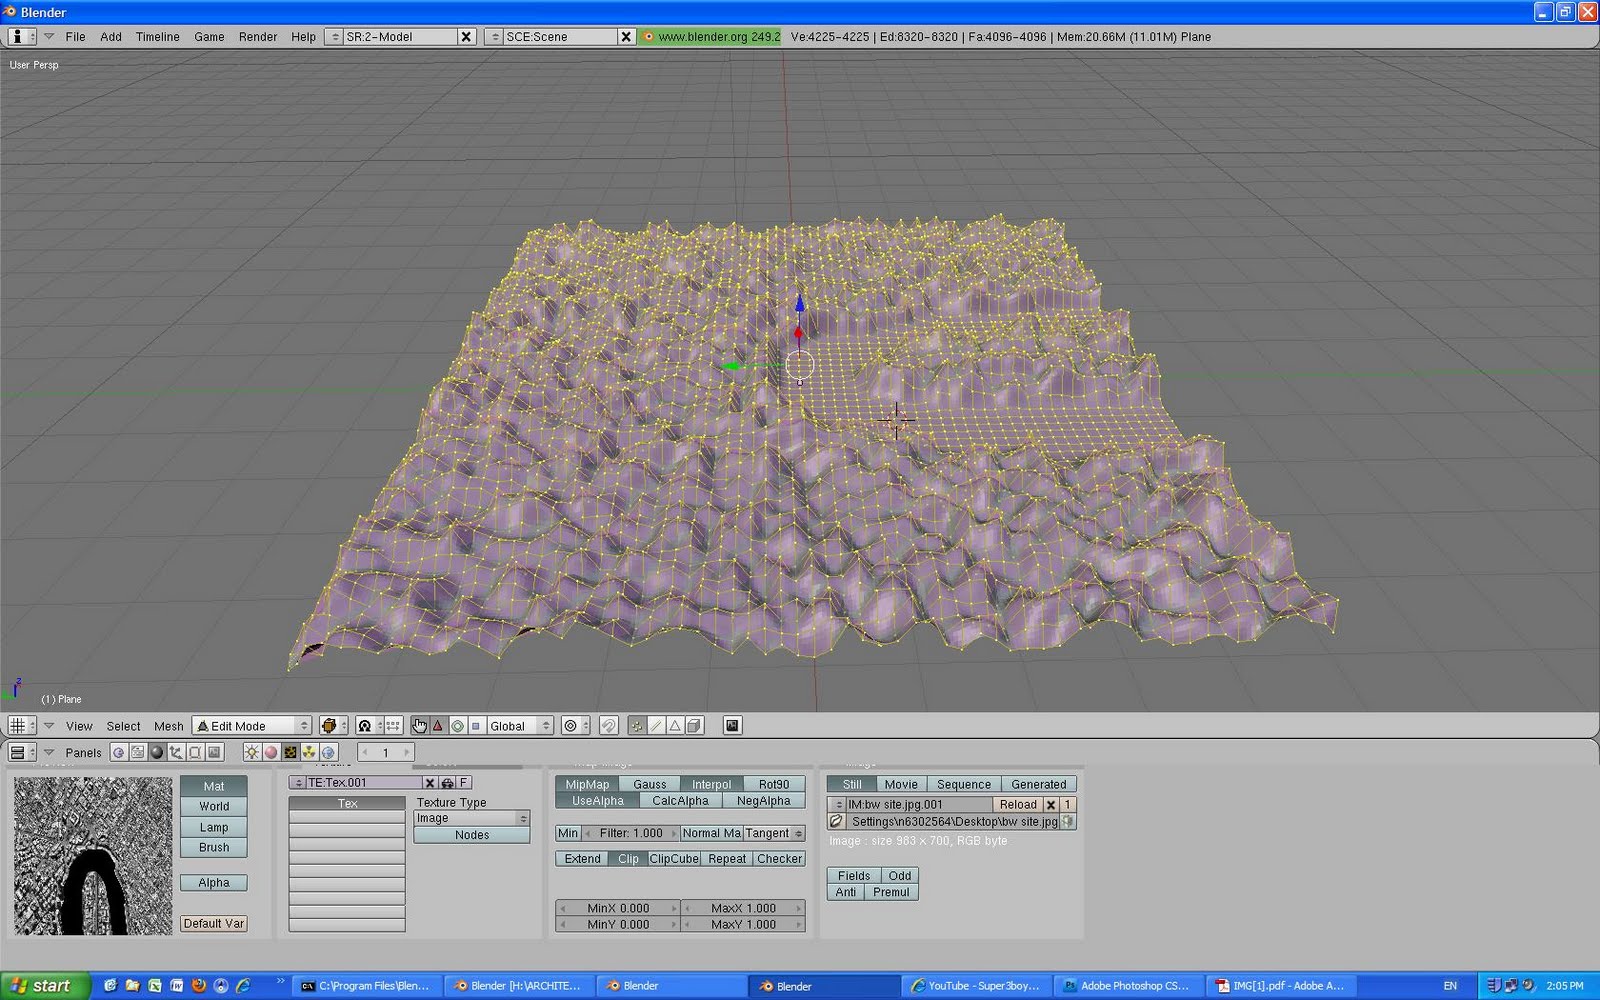
Experiment 2:
For this experiment I just imported the greyscale version into Blender instead of altering the site map in photoshop. I then applied noise. In object mode added a smooth subsurface.
This terrain is pretty lumpy but it may be ok for rough diagrams.
'
My next experiements will be refining the terrain and adding particle tracing elements and empties.